 [/caption]
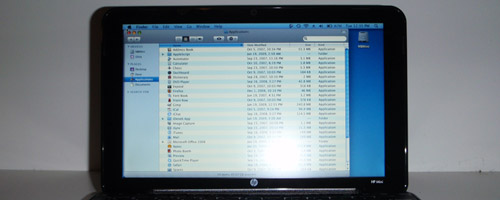
After numerous attempts at installing OS X Leopard on my HP Mini 1000 which turned out to be futile all of them; I've finally decided to give in and just do things the "old school" way. That is, I finally downloaded iDeneb v1.3 as instructed by how-to guides published over the net.
At first, I thought I'd go torrent the .iso file but the status message that Vuze, my torrent client, was disheartening me - 2 weeks to download a 4 gb or something file? Given my EQ level, I could not possibly wait that long. So I went the other way and proceeded with hunting down the 36 bits and pieces of iDeneb v1.3 on a popular file sharing site.
All in all the process took me 3 days to complete and that's not some 24-nonstop thing, mind you. Anyhow, with the downloading done and all 36 .rar files sitting in my Download folder - yes, I used my MacBook Wind to get the files off of the net - my next step was to put them all back into a single .iso that I intended to restore on my old 20 gb external hard drive. How do I do it exactly? I got RAR Expander which did the job just fabulously for me.
Now that an iDeneb v1.3 10.5.iso file was staring invitingly at me from my Documents folder, these were what I did next:
1) Mount the .iso file for iDeneb and plug in my external hard drive
2) Launch Disk Utility and partition my external HDD using options > GUID with
Mac OS Extendend (journaled) as format.
3) In the Restore tab, choose iDeneb as the file to restore and my external HDD as drive to restore to. This will take about 15 minutes or so depending on your hard drive's speed.
This was the point I got too excited so I went ahead of myself again and tried to boot the HP Mini with the external HDD with iDeneb restored in it.
Wrong move!
The next steps are important in order to boot from the restored iDeneb HDD
4) With the restored iDeneb HDD plugged in, launch Uinstaller
5) Set drive to the restored iDeneb HDD and check option "Install EFI"
6) Click on the Install button and wait until the process completes.
This should give (at last) a bootable iDeneb installer in a hard drive.
Follow the instructions found at myhpmini.com for the actual installation of OS X Leopard on the HP Mini 1000 and all should be set.
Coming soon MacBook Mini ^^
edit: MacBook Mini blog is now up


