26 April 2009

VooDoo Who?

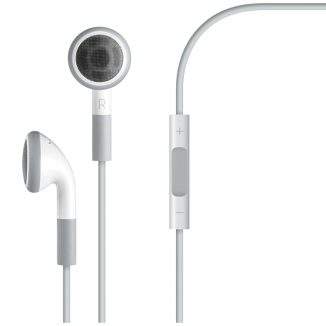
earphones1

At long last! I posted about this news on my MacBook Wind blog. I've actually been enjoying VooDooHDA for a few weeks now (hold on, maybe that's already a month?).

This is the promise to set us free from the bondage of having to use the switch.sh script which has been all but canonized in that it let us Wind Hackintoshers channel audio to our fave pair of (battered and tattered) earphones or to an external speaker for the sake of "pumping it louder"!

Okay, so before I sound like I wanted to rival the book of Revelations with this post,

1) download the VooDooHDA kext here and unpack the kexts.

2) Go to your /System/Libray/Extensions/ to delete all kexts with the text "AppleHDA" in their filenames.

3) And while you're there, delete the "Caches" folder

4) Go up one level, which brings you to /System/Library/ to delete "Extensions.mkext"

You'll be prompted to input your password in all of these deletions, by the way.

5) Launch Kext Helper b7 (or your fave kext installer app) and then install the kexts. Reboot when prompted.

If all goes well, you should be able to boot up in OS X and everything else will be as if nothing happened. The feature presentation will be when you plug in your earphones into audio jack in the Wind, sound is automatically channeled through them - sans divine intervention from the infamous "switch.sh".

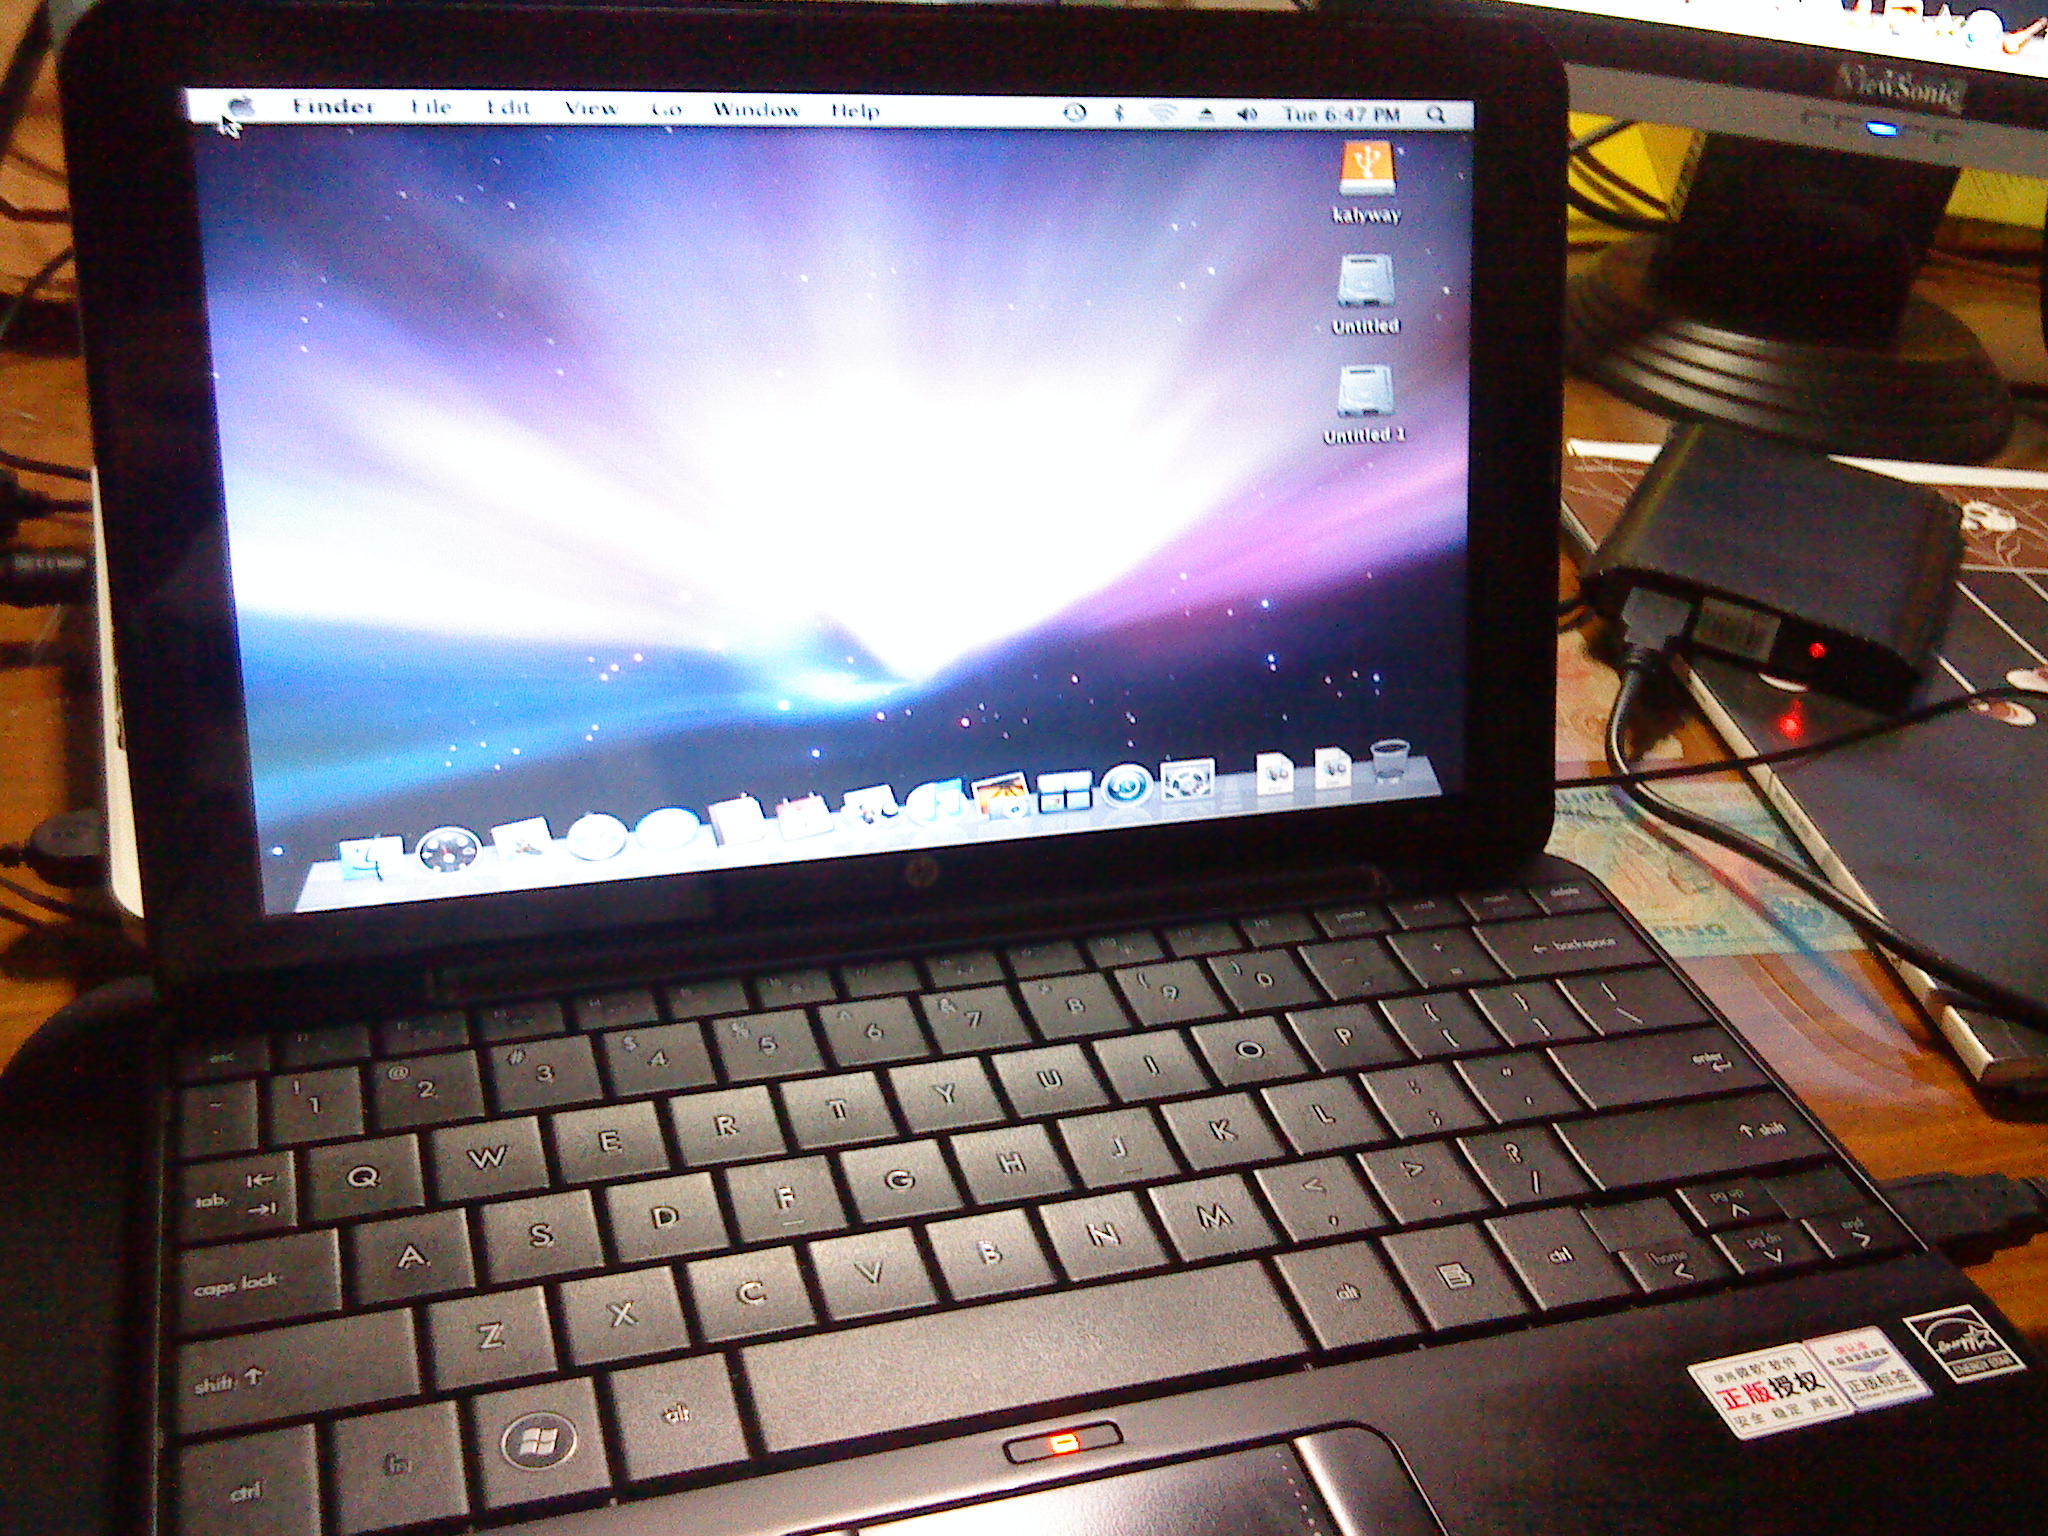
Ideally, the Wind's internal mic should also work with this kext but that's not what happened in my case. Anyway, this is still in beta so we've a lot to go, but a good sign still. This same VooDooHDA kext works wonders for the HP Mini 1001TU - I can now watch my movies on my MacBook Mini! Hurray! :D

Thanks and good job to the VooDooHDA team - you guys rock!

25 April 2009

Go Pro with Quick Time

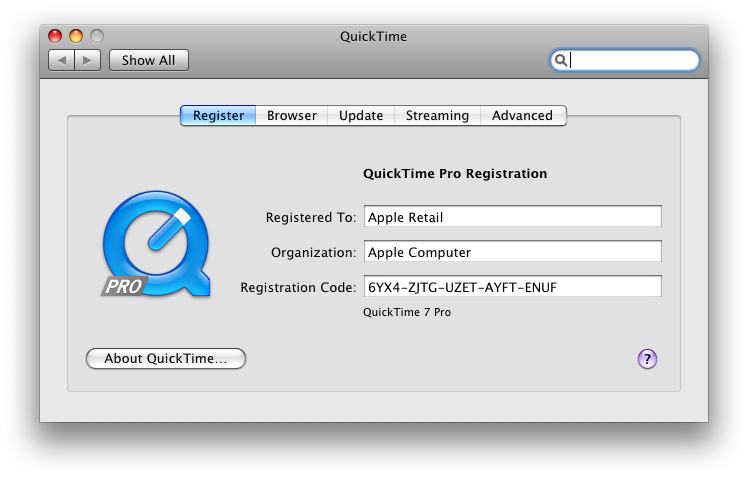
Same as my previous post before, that is how to get Quick Time Pro for Windows. This time go Pro with your Quick Time for Mac OS X.

Just see the images for details ;)


registration


pro-serial

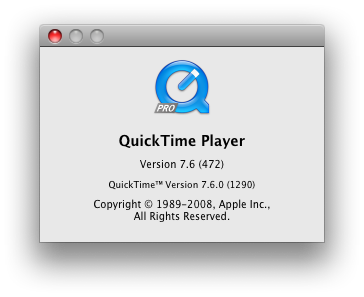
And voilĂ ! You're Pro:

quick-time-pro

Supposedly works for 7.5 but as you can see, it also works for 7.6

11 April 2009

Old School

[caption id="attachment_342" align="aligncenter" width="500" caption="image borrowed from gadgeteer"]image borrowed from gadgeteer[/caption]

After numerous attempts at installing OS X Leopard on my HP Mini 1000 which turned out to be futile all of them; I've finally decided to give in and just do things the "old school" way. That is, I finally downloaded iDeneb v1.3 as instructed by how-to guides published over the net.

At first, I thought I'd go torrent the .iso file but the status message that Vuze, my torrent client, was disheartening me - 2 weeks to download a 4 gb or something file? Given my EQ level, I could not possibly wait that long. So I went the other way and proceeded with hunting down the 36 bits and pieces of iDeneb v1.3 on a popular file sharing site.

All in all the process took me 3 days to complete and that's not some 24-nonstop thing, mind you. Anyhow, with the downloading done and all 36 .rar files sitting in my Download folder - yes, I used my MacBook Wind to get the files off of the net - my next step was to put them all back into a single .iso that I intended to restore on my old 20 gb external hard drive. How do I do it exactly? I got RAR Expander which did the job just fabulously for me.

Now that an iDeneb v1.3 10.5.iso file was staring invitingly at me from my Documents folder, these were what I did next:

1) Mount the .iso file for iDeneb and plug in my external hard drive

2) Launch Disk Utility and partition my external HDD using options > GUID with

Mac OS Extendend (journaled) as format.

3) In the Restore tab, choose iDeneb as the file to restore and my external HDD as drive to restore to. This will take about 15 minutes or so depending on your hard drive's speed.

This was the point I got too excited so I went ahead of myself again and tried to boot the HP Mini with the external HDD with iDeneb restored in it.

Wrong move!

The next steps are important in order to boot from the restored iDeneb HDD

4) With the restored iDeneb HDD plugged in, launch Uinstaller

5) Set drive to the restored iDeneb HDD and check option "Install EFI"

6) Click on the Install button and wait until the process completes.

This should give (at last) a bootable iDeneb installer in a hard drive.

Follow the instructions found at myhpmini.com for the actual installation of OS X Leopard on the HP Mini 1000 and all should be set.

Coming soon MacBook Mini ^^

edit: MacBook Mini blog is now up

09 April 2009

It Could Be A Happy Ending After All

dsc01078

It's been a long while since I last updated this site - been busy in the "beauty department" hence the 1 month hiatus in the "nerd land" - but I'm back.

Remember that " Try and try until you burn out" post? Well this entry's got plenty to do with that topic. I'd been attempting to install OS X on my HP Mini 1000 by going with the bootable usb, or in my case, bootable external hard drive. I'd spent many a sleepless night trying every trick under my sleeve to get past that nasty "Mac framework successfully initialized" blah blah but to no avail.

I thought maybe I was just unlucky that way or I just had to get myself a Retail OS X Leopard DVD installer or iDeneb v1.3 like what everyone on the forums were doing. And so I got a Retail OS X Leopard DVD - there was a Tiger mac that needed to be upgraded to Leopard anyway so I thought I'd use the DVD myself for this little experiment.

I began trudging on, only to find myself bumping head first on to a wall - a very hard wall at that. My DVD drive flashed me I/O errors after 35 minutes into the project. Argghhh!!

I was stuck with the old iDeneb image I had stored in my Wind's hard drive. I read through Res' instructions from insanelymac and lo and behold; I found out where I'd tripping and didn't know I was even tripping before.

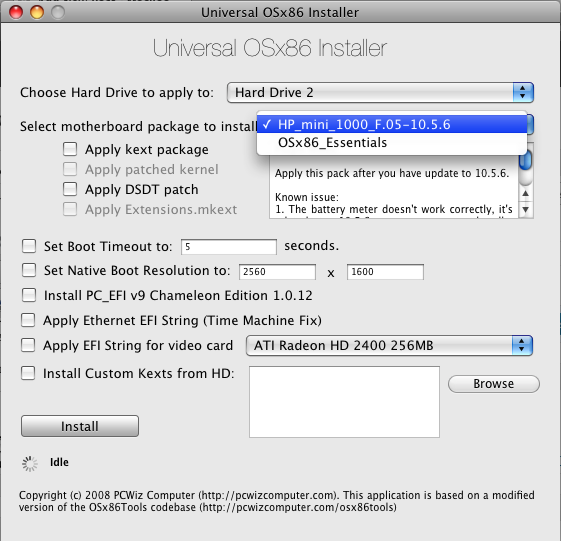
It turned out I always went directly to installing the HP mini plugin in Universal Installer, skipping OS X essentials plugin.

uinstaller-plugins

This time, I made sure I went through the OS X essentials plugin step of the how-to and low and behold: it booted.

Now my main problem is that aside from the keyboard, which I really adore of the HP Mini 1000, and a squashed 800 x 600 resolution, I didn't have anything else worth mentioning in my setup.

Does WiFi work? Although there's an Airport menulet in the menubar (now how redundant is that?), I've no way of verifying since we don't have a WiFi router at home.

Bluetooth? OS X asked for a bluetooth mouse - I plugged in my usb optical mouse but it wasn't recognized rebooting with it plugged in already caused the system to hang - but I didn't have a bluetooth mouse so I wouldn't know. Pairing with my cellphone would be pushing it, I thought.

The weirdest thing is that I'm getting an error message each time I get to the desktop.

"The system extension "name of kext" was installed improperly and cannot be used. Please try reinstalling, or contact the product's vendor for an update"

After trying to manually install the kexts; that is, replacing stuff from the /System/Library/Extensions folder and then deleting the /System/Library/Extensions/Caches folder along with the Extensions.mkext file with still the same original lame result, I'm fed up.

I'm not gonna bother trying to go further with this so I'm downloading iDeneb v1.3 now. I'm through part 8 of the entire series of .rar files. Maybe within this weekend, I'll be able to test.

Keeping my fingers crossed.